West Iron
Bend-It-Yourself Rose- No Welding Needed
Bend-It-Yourself Rose- No Welding Needed
Couldn't load pickup availability
Bend It Yourself Steel Rose Kit
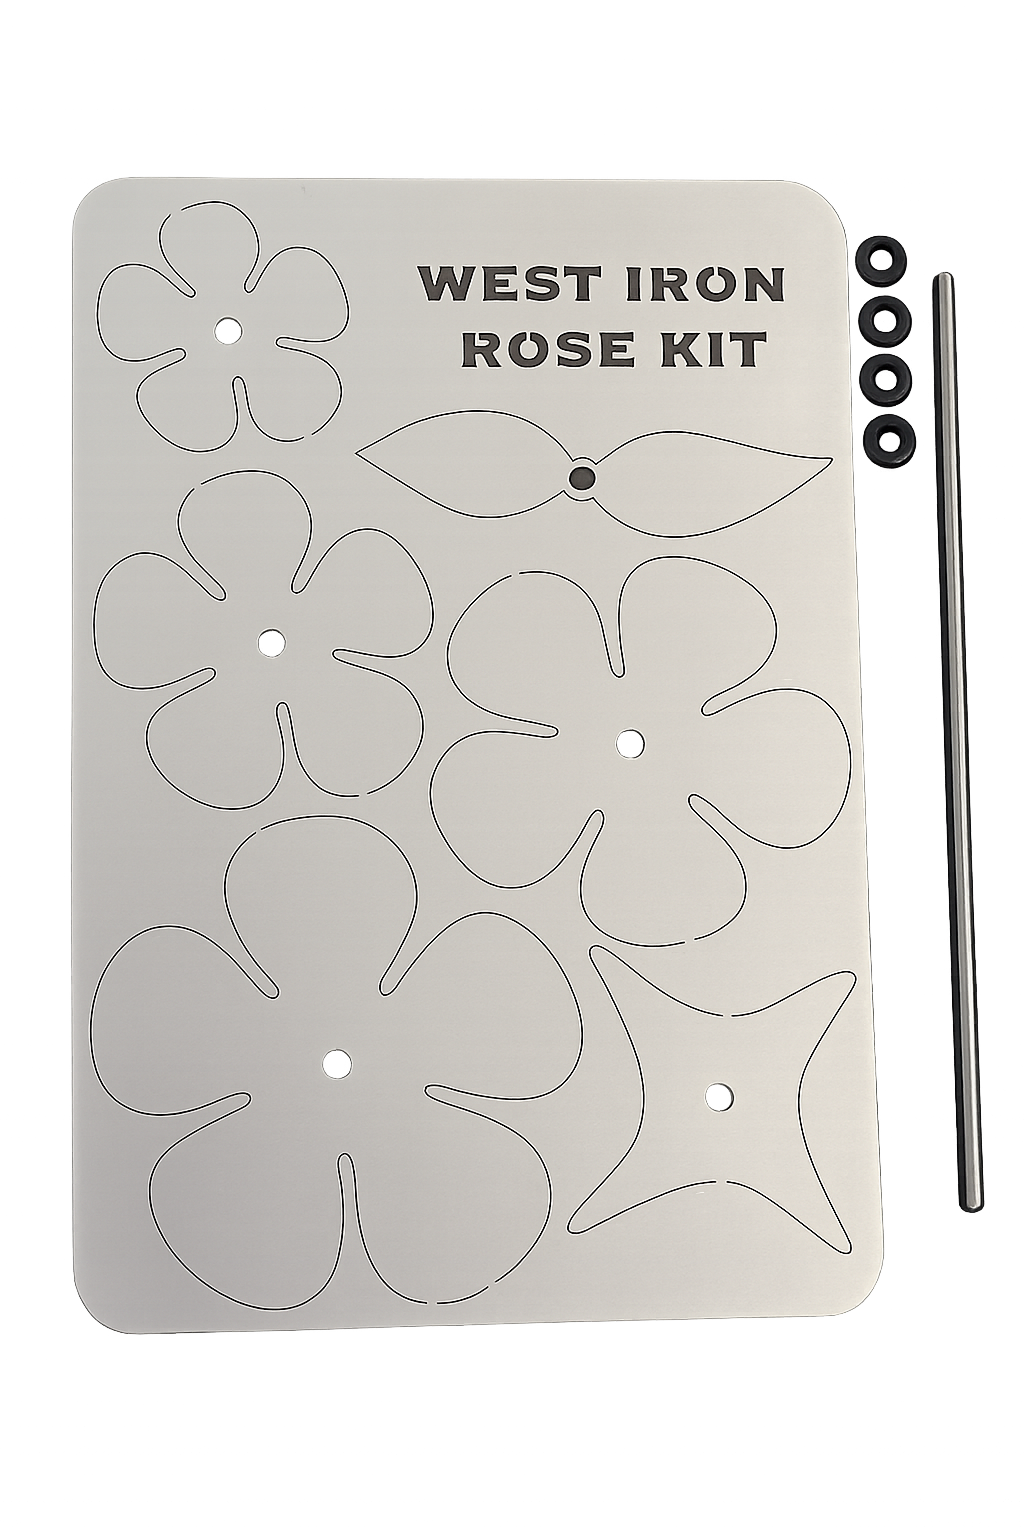
Create a beautiful steel rose without any welding, glue, or special tools. This kit includes precision laser-cut steel petals and leaves that assemble onto the included stem using push nuts. Once assembled, simply bend and shape the petals to create your own unique rose.
Whether you're looking for a fun DIY project, a unique gift, or a piece of metal art that lasts forever, the Bend It Yourself™ Rose Kit makes it easy.
What's Included
- 1 Precision laser-cut steel rose card
- Steel stem
- 4 Push nuts
- Easy-to-follow instructions
Tools Required
- Pair of pliers
Assembly Instructions
Step 1: Remove the Parts
Carefully pop out all petals and leaves from the steel rose card.
Step 2: Install the First Push Nut
Slide one push nut onto the stem and move it to where you would like the bottom of the rose petals to sit. We recommend placing the first nut at least 3/4" away from the top of the stem to allow the petals and push nut to sit properly.
Step 3: Install the Petals
Slide all rose petals onto the top of the stem, making sure they rest on the push nut you just installed.
Step 4: Secure the Petals
Slide a second push nut onto the top of the stem and firmly push it down to sandwich the petals between the two push nuts.
Step 5: Install the Leaves
Turn the rose upside down. Slide the third push nut onto the stem from the bottom and position it where you would like the top of the leaves to sit.
Step 6: Secure the Leaves
Slide the leaves onto the stem. Install the fourth push nut below the leaves and firmly push it upward to sandwich the leaves between the two push nuts.
Step 7: Tighten Everything
Using pliers if needed, firmly squeeze all push nuts into position. Make sure they are pushed down as far as possible so the petals and leaves are securely held in place.
Step 8: Shape Your Rose
Carefully bend and form the petals and leaves until you achieve your desired rose shape. Every rose can be customized to look unique.
Step 9: Final Adjustment
If the petals still feel loose after shaping, use pliers to firmly compress the top and bottom push nuts closer together until the petals are secure.
Step 10: Finish It Your Way
Leave the rose raw steel, paint it, clear coat it, heat-color it, or create your own custom finish.
Your rose is now complete!
Built by you. Made to last forever. 🌹⚒️ West Iron LLC.
Share